Hello Friends!
Many of you are my 'friends' on facebook and so you may know that I set out, sometime ago, to build a coffee table. I stumbled across a picture and decided I could do it myself!
Here's is the inspiration...
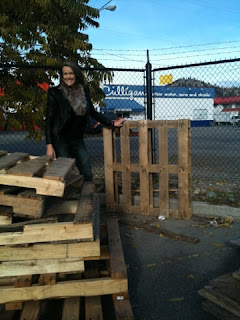
My daughter and I went on the hunt for a pallet...Treehouse furniture had a stack of them out back. We went in and asked nicely if we could have one..."help yourself!" was the response! Perfect...FREE!
Then on to a glass shop right around the corner. He offered me a round piece of tempered glass that had been ordered in the wrong size. It's width was perfect for my pallet...$25, cash!
At Rona, I picked up four castors (two straight, two swivel) and the appropriate hardware. $90.
Now, I was going for a distressed look...but the pallets that were actually distressed by time and the elements were a bit too flimsy. Wood was split, some panels were missing. I opted for a sturdy looking pallet.
At home I had some black paint. I mixed it with water and 'washed' the pallet with this mixture. It worked out perfectly! Distressed 'looking' but strong and intact. The wood needs to be able to take the screws used to attach the castors.
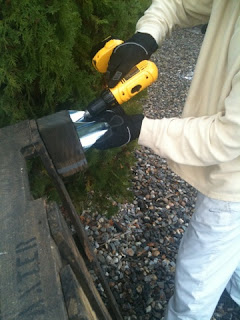
That is the next step. It helps to pre-drill the holes.
When we brought it inside, we found it to be too low.
Back outside we went. We had some 4X4 wood from a deck project. I quickly threw some of my 'black wash' on the blocks (which my husband cut to uniform size). Once they dried we attached those to the pallet and the castors to the blocks.
That few extra inches made all the difference. I put rubber grips on the bottom of the glass to keep it in place and voila! A lovely, albeit rustic, coffee table.
One note...I would not recommend this in a home with young children. The wood is raw and so there are splinters.
Perhaps the best part came at bedtime that night when Audrey uttered these words, "Mommy you said you were going to make a table, and you did!" I did!!
Toby


Comments
Post a Comment